[ad_1]

With the release of MacOS Ventura, the Mac is getting several new features and improvements.
You’ll be able to edit and delete iMessages in the Messages app, while Stage Manager brings a new way of multitasking to the Mac, and there’s even a new feature that allows you to use your iPhone as a webcam during video calls.
For those who aren’t sure if they have a Mac that’s compatible with MacOS Ventura, I’ve included a full list of Macs that will receive the free update.
Continuity Camera is easy to use and instantly turns what is likely a poor laptop webcam feed into a high-quality camera feed — if only we’d had this feature in the phase of the pandemic when video calls were the bulk of a day’s work.
Also: The best MagSafe power bank for the iPhone (Hint: It’s not Apple’s)
Here’s what you need to know about Continuity Camera, including how to use it and adjust its settings, and a couple of recommendations for mounts.
MacOS Ventura: How to use your iPhone as a webcam with Continuity Camera
Before you use Continuity Camera, there are a few things to check. Make sure your Mac and iPhone have Bluetooth and Wi-Fi turned on. You’ll also need both devices to be connected to the same Wi-Fi network.
Both devices will need to be signed in to the same Apple ID account, and you’ll need to have two-factor authorization enabled.
Finally, on your iPhone go to Settings > General > AirPlay & Handoff and make sure the switch next to Continuity Camera is turned On.
Really, it’s that simple. All you have to do is start a video call in any video calling app — Zoom, FaceTime, Meet, WebEx, you name it — when your iPhone is close to your Mac. If you don’t want to test Continuity Camera out on an actual video call, open the Photo Booth app.
You should hear your iPhone beep a couple of times and then see a video feed from your iPhone’s camera. If that doesn’t happen, you can go into the app’s settings and switch the camera to your iPhone.
Also: The complete Zoom guide: From basic to advanced tips and tricks
Alternatively, you can try waking your phone by pressing the side button or a volume button, which has prompted it to connect on a few occasions during my use.
There are a few different settings you can tweak to get the exact look you want. To adjust the camera settings, click on the Control Center icon in your Mac’s menu bar, then click the Video Effects tile.
There, you’ll see a handful of options you can turn on or off, including using Center Stage to constantly keep you centered in the shot, even if you move around. Portrait Mode is also an option to add some blurriness to your background. And, finally, there’s Studio Light — a feature that mimics studio lighting to make you look like you’re in a well-lit environment.
Also included in the list of options is Desk View. When enabled, Desk View uses the iPhone’s ultra-wide camera to create a top-down view of your desk, a feature that’s handy if you’re frequently doing demonstrations during your video calls.
When using your iPhone as a webcam, you don’t have to plug your phone into your Mac, or even into a charger. However, it’s probably a good idea to connect it to a charger if you’re going to use the feature for an extended amount of time, so your battery doesn’t end up going empty on you later in the day.
If you receive a call on your iPhone while it’s being used as your webcam, you’ll see a notification on your Mac letting you know who is calling you. It’s up to you, then, if you want to grab your phone and answer the call or let it keep ringing — which, by the way, it does silently and without vibrating as to not disturb the call.
5. How do I mount my iPhone?
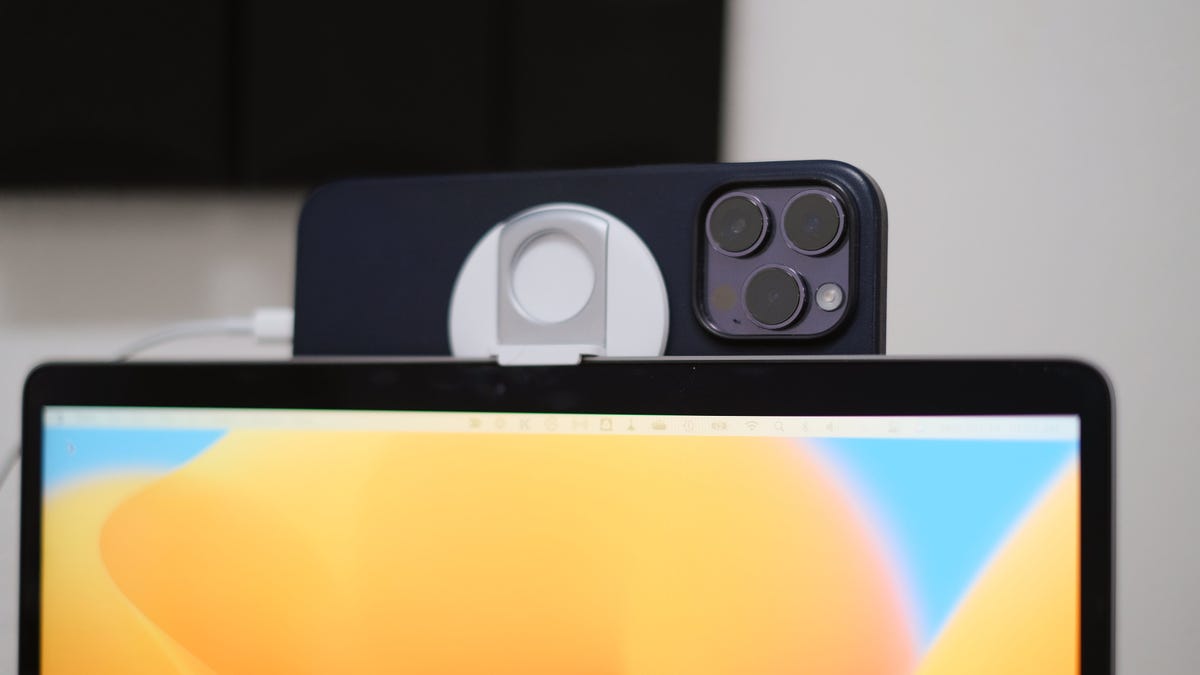
Apple and Belkin partnered to create the iPhone Mount with MagSafe for Mac laptops, which costs $29.95 and works with all MagSafe-compatible phones. It sits on the lip of your MacBook’s display, holding the iPhone in place. I’ve been using a very early prototype since July and haven’t had any issues.
Alternatively, any sort of small tripod or even case with a kickstand will get the job done.
Also: Belkin’s iPhone-as-a-Mac-webcam accessory is now available
Which Macs will run MacOS Ventura?
Here’s the official list for Macs that will receive the Ventura update:
- iMac: 2017 and later
- Mac Pro: 2019 and later
- iMac Pro: 2017
- Mac Studio: 2022
- MacBook Air: 2018 and later
- Mac Mini: 2018 and later
- MacBook Pro: 2017 and later
- MacBook: 2017
Source link


